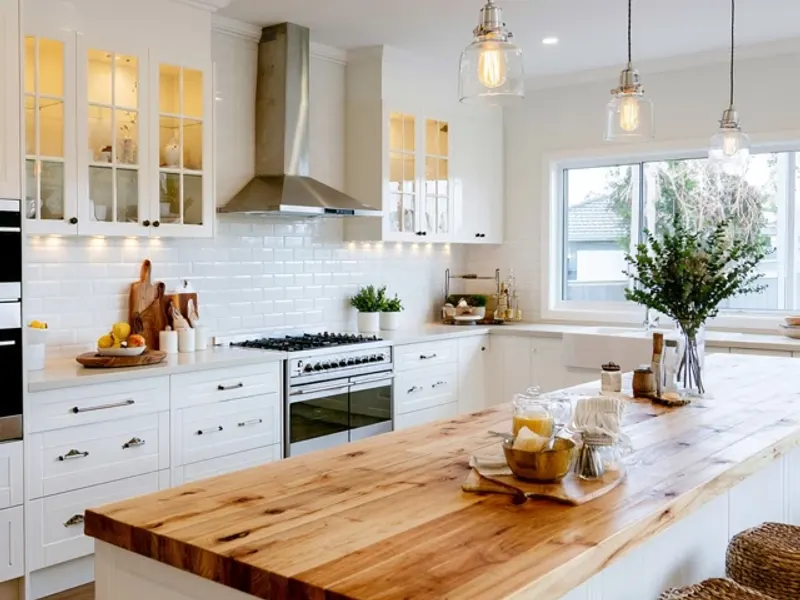
5 Under Cabinet Lighting Ideas Anyone Can Copy This Weekend
The first time I cooked dinner in a tent vestibule, I fumbled for the salt, knocked over a spoon, and nearly dumped chili onto my sleeping bag. The headlamp beam kept bouncing off the ceiling. That's when I realized: a tent kitchen needs focused light, just like a real kitchen. Under cabinet lighting is the fix, and you don't need tools or wiring. Here are five ways to add it this weekend.

1. Battery-Operated Puck Lights with Adhesive Mounts
Puck lights are the simplest entry point. Look for round, battery-powered LED pucks that come with peel-and-stick metal plates. Stick the plate to the underside of a plastic storage bin lid, a foldable table, or a shelf in your camp kitchen. The light snaps on magnetically, so you can remove it to change batteries or use as a flashlight.
My specific trick: Place the puck light two inches back from the front edge of the shelf. This prevents glare in your eyes while you work. For a family of four, two pucks spaced 18 inches apart cover a standard camp table.
Weather adaptation: In humid conditions, wipe the mounting surface with rubbing alcohol before sticking the plate. Let it dry fully. This keeps the adhesive from failing mid-weekend.
Mistake to avoid: Don't use pucks with exposed battery compartments if you expect rain. A single drop can corrode the contacts. Choose pucks with a rubber gasket around the battery door.
2. Magnetic LED Strip Lights on Metal Tables
If your camp table has a metal frame or a steel underside, magnetic LED strips are your fastest option. Buy a roll of flexible LED strip lights with a magnetic backing, or attach small neodymium magnets to a standard strip with double-sided tape.
Installation: Measure the length of your table. Cut the strip at the marked cut points (usually every 2-3 inches). Stick the magnetic side to the table edge. Run the strip along the front lip, not the back. This puts light directly on your cutting board.
Why this works: Magnets let you reposition the strip in seconds. If the wind picks up, you can move the strip to a less exposed side. The light is low-profile, so it won't snag on tent walls.
Safety note: Keep the strip's USB power bank inside a dry bag or ziplock. A falling water droplet on the port can short the circuit. Tuck the cable along the table leg with a clip.
3. Clip-On Book Lights for Instant Task Lighting
Clip-on book lights are small, cheap, and have flexible goosenecks. They clip onto the edge of a plastic tote lid, a hanging organizer, or even the brim of a camp chair. No adhesive, no magnets, no tools.
Best placement: Clip one to the top edge of a hanging shoe organizer that you've repurposed as a spice rack. Angle the light down toward the contents. Clip another to the lid of your utensil bin, pointing inward.
Kid-friendly tip: Give each child their own clip light for their seat at the table. They can adjust the beam to see their plate without blinding others. The gooseneck bends into any position.
Common mistake: Don't clip lights onto tent poles or fabric walls. The weight pulls the fabric taut, creating stress on the seam. Clip only onto rigid surfaces.
4. Repurposed Headlamp as an Under-Shelf Light
You already own this one. A headlamp with a swivel beam can be strapped around a plastic bin, a table leg, or a hanging rod. Angle the beam downward so it shines on your work surface, not into your eyes.
Setup sequence: Loop the strap around the underside of a shelf or table. Tighten it snug. Rotate the headlamp so the beam points straight down. Use the red light mode if you're cooking late and others are sleeping.
Why it's better than a lantern: A lantern on the table casts shadows behind your hands. A headlamp strapped to the shelf above your cutting board casts no shadows. You see every slice clearly.
Battery management: Keep a spare set of AAA batteries in a waterproof container. Headlamps drain faster when used in cold weather, so check brightness before dinner prep.
5. DIY Light Panel with a Plastic Cutting Board and LED String
This is the one trick you won't find on ten other sites. Take a translucent plastic cutting board—the thin, flexible kind. Punch two small holes near one edge. Thread a short string of battery-operated LED fairy lights through the holes so the battery pack hangs behind the board. Prop the board against a bin or hang it from a tent loop with a carabiner.
How it works: The cutting board diffuses the pointy LED light into a soft, even glow. It's like a mini light panel that casts no harsh shadows. The board also doubles as a food prep surface when you need it.
Dimensions that work: Use a board about 12 by 16 inches. A string of 10-20 LEDs is plenty. Warm white (2700K) looks coziest and attracts fewer bugs than cool white.
Weather tip: In windy conditions, place a heavy mug on the bottom edge of the board to keep it from flapping. The plastic is flexible enough to bend without breaking.
Safety note: Never leave the string lights on unattended. Push the battery pack into a ziplock bag if there's any chance of dew or rain.
Takeaway
Under cabinet lighting in a tent isn't about luxury. It's about seeing the garlic salt, not knocking over the olive oil, and keeping your family safe from spills and sharp knives. These five ideas use gear you likely have or can buy for under $15. Pick one, try it this weekend, and feel the difference. Your tent kitchen will thank you.
Frequently Asked Questions
Are under cabinet lights safe to use inside a tent?
Yes, as long as you use battery-operated or low-voltage LED lights. Avoid any lights that plug into a generator or car inverter if the cord runs through a tent opening where rain or tripping could occur. Always mount lights securely so they don't fall onto a hot stove or sleeping area.
Can I use adhesive strips to attach lights to a tent?
Adhesive strips work well on hard, smooth surfaces like plastic bins or metal tables. On tent fabric, they may peel off in humidity or heat. Use clips, magnets, or zip ties instead for fabric attachment.
What's the best brightness for under cabinet lights in a tent?
Look for lights with 50-200 lumens per fixture. This is enough to see food prep clearly without being blinding in a small space. Dimmable options are ideal for adjusting from task to ambient light.