
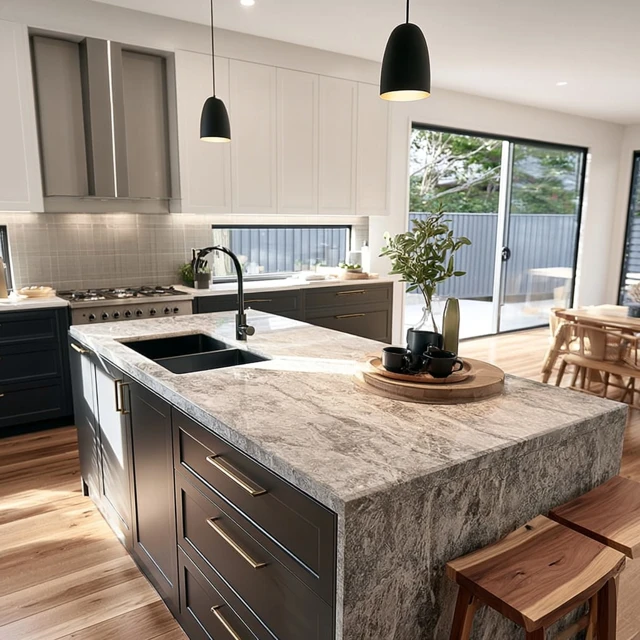
I was standing in my campsite, staring at a flimsy folding table covered in a cutting board, a camp stove, and a jumble of utensils. The wind had picked up, and my knife block—a repurposed cardboard box—threatened to slide off the edge. That’s when it hit me: the kitchen remodel countertops trick nobody talks about is using your camping gear to test your actual kitchen layout before you spend a dime on granite or quartz.

It sounds almost too simple. But here’s the thing: the same principles that make a camping kitchen functional—compactness, workflow, and adaptability—are exactly what you need in a permanent kitchen. And the best part? You can do it for the cost of a few camping meals.
Why This Trick Works
Most people walk into a home improvement store and pick a countertop material based on looks. They measure the space, maybe draw a layout, but they never actually live with it. Camping forces you to think differently. You have limited space, no permanent fixtures, and you have to cook real food—not just boil water. That’s the ultimate test.
By setting up a temporary countertop at your campsite (or even in your backyard), you can simulate your kitchen’s workflow. You’ll discover things like: the counter height feels wrong for chopping, the sink should be closer to the stove, or you need more landing space next to the fridge. These are the details that make or break a remodel.
How to Set Up Your Test Countertop
Start with a flat, stable surface. A sturdy folding camp table—about 24 by 48 inches—works perfectly. If you’re at a campsite, use the picnic table. The key is to replicate your planned kitchen’s dimensions as closely as possible. Place your camp stove on one side, a cutting board in the middle, and a small bin for dirty dishes on the other.
Now, cook a full meal. Not just hot dogs. Something with chopping, sautéing, and multiple pots. I like to make a one-pot pasta with vegetables. Pay attention to every reach, every step. Where do you set down the knife? How far do you have to turn to grab the salt? Is there space for a colander when you drain the pasta?
After one meal, you’ll have a list of tweaks. Maybe the stove needs to be a foot to the left. Maybe you need a separate prep station. These are the insights that save you from a costly mistake.
Common Mistake to Avoid
Don’t just set up the gear and walk away. You have to use it. I’ve seen people arrange a pretty camping kitchen, snap a photo, and call it done. That’s not testing—it’s staging. The trick is in the real cooking, with real mess, in real conditions. If you’re camping with kids, add their needs: a lower surface for them to help, a safe spot for their water bottles.
Adapting for Weather and Terrain
This trick works in any weather, but you need to adapt. In wind, use a windscreen for your camp stove—those foldable aluminum panels are cheap and effective. Stake your table down if it’s light, or use heavy rocks. In rain, pitch a tarp overhead. A 10×10 tarp with four poles gives you a dry zone. In heat, keep your cooler in the shade and prep in the morning when it’s cooler.
For cold weather, consider a camp stove with a propane adapter—it performs better than butane below freezing. And always, always keep a fire extinguisher or a bucket of sand nearby. Carbon monoxide is a real risk if you use a stove inside a tent or enclosed space; never do that.
The Specific Angle Nobody Talks About
Here’s the trick that I haven’t seen covered elsewhere: use your camping gear to test counter height. Most permanent counters are 36 inches high. But that might not be right for you. At a campsite, you can easily adjust the height of your work surface by stacking a cutting board on a cooler or using a folding table with adjustable legs.
Try cooking at 34 inches, then 36, then 38. Notice how your shoulders feel after 20 minutes of chopping. Your lower back. This is the kind of ergonomic data that’s impossible to get from a showroom. And it’s free.
What About Storage?
Your test should also include storage. Use the same bins, baskets, and drawer organizers you plan to use in your real kitchen. Arrange them on a separate table or shelf. See how often you have to bend or reach. This is where camping organization hacks—like hanging utensil holders on a tent pole—translate directly into permanent kitchen design.
Takeaway
The kitchen remodel countertops trick nobody talks about is this: test your layout with camping gear before you commit. It’s low-cost, low-risk, and it gives you real data. You’ll walk into that remodel with confidence, knowing exactly what works for your cooking style, your family, and your space. And you’ll have a great camping meal in the process.
Frequently Asked Questions
What is the kitchen remodel countertops trick that nobody talks about?
It’s using a compact camping kitchen setup—like a folding table and portable countertop—to test your counter layout and workflow before investing in a permanent remodel. You simulate your actual cooking and storage needs in a low-cost, temporary way.
How do I set up a test countertop for my kitchen remodel while camping?
Choose a flat, stable surface like a picnic table or a dedicated folding camp table. Arrange your camp stove, cutting board, utensil holder, and food prep containers exactly as you would in a real kitchen. Cook a few meals to see what works and what doesn’t—like counter height, reach, and space for dirty dishes.
Can this camping trick really save me money on a kitchen remodel?
Yes. By testing your layout before buying materials, you avoid costly mistakes like insufficient counter space, poor workflow, or wrong heights. The camping gear is reusable, so the only cost is time and a few meals.
What should I consider for weather when using this trick?
If it’s windy, use a wind screen for your camp stove and secure your table with stakes or weights. In rain, set up a tarp or canopy overhead. For hot weather, keep food in a cooler in the shade. Always check fire regulations for camp stoves.
How do I adapt this for camping with kids?
Keep a dedicated zone for kids—like a small folding table at their height—so they can help with safe tasks (washing veggies, setting out plates). Use a separate cooler for kid-friendly snacks to avoid constant opening of the main cooler.