
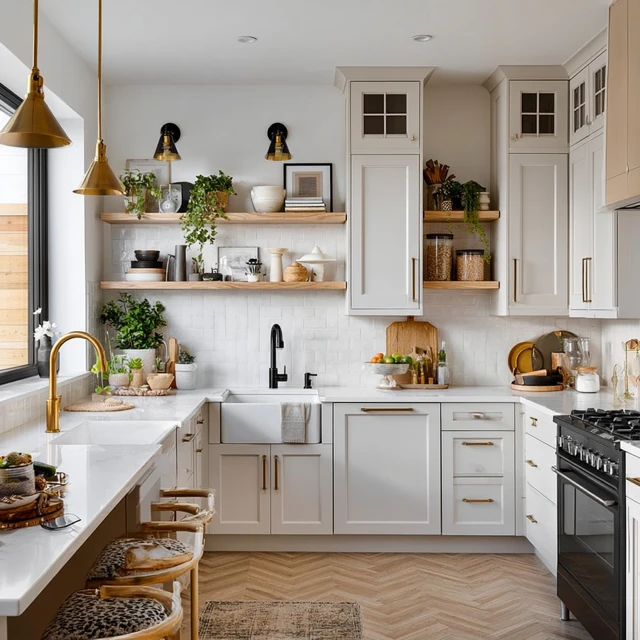
The first time I set up a camp kitchen that felt both functional and beautiful, I realized the secret wasn’t fancy gear. It was a system. You know the feeling: you’re at the picnic table, the sun is warm, and you want to cook a meal without digging through a chaotic pile of bags. A magazine-worthy kitchen doesn’t require a luxury RV. It just requires clear thinking and a few deliberate choices. Here’s how to make your tent camping kitchen look like a styled spread while actually making your life easier.

Start with a Single, Uniform Container System
The biggest visual upgrade you can make is ditching the mismatched bags and boxes. I use three clear, stackable bins with lids that latch shut. One for dry goods (pasta, rice, oats), one for cooking tools (spatula, knife, cutting board, seasonings), and one for cleanup (biodegradable soap, scrubber, towels, trash bags). Clear bins let you see what’s inside at a glance — no rummaging. The uniform size means they stack neatly in the car and on the campsite table. Label each bin with a simple white sticker and a permanent marker. It takes ten minutes at home and saves hours of frustration.
The Cutting Board Tray Trick
Here’s the specific angle you won’t find elsewhere: use a large, lightweight wooden cutting board as a serving tray and prep station. Place it on the picnic table, then arrange your spice containers, oil bottle, and salt cellar on it. This creates a contained zone that looks intentional. When you need to move everything under the canopy because of a sudden drizzle, you lift the board as one unit. No scattered bottles. Choose a cutting board with a juice groove — it catches spills and keeps the table clean. I prefer bamboo because it’s light and resists moisture better than softwood.
Hanging Utensil Organization
For utensils, skip the bulky caddy. Instead, use a mesh hanging organizer designed for camp kitchens. Hook it onto the edge of the picnic table or a nearby tree branch. Sort utensils by function: cooking spoons and spatulas on one side, serving forks and tongs on the other. It keeps them off the table, dry, and visible. The mesh allows air circulation so they dry quickly after washing. Common mistake: hanging it too low where it brushes against grass or dirt. Hang it at elbow height for easy reach.
Spice Storage That Doubles as Decor
Spices are the easiest way to add color and organization. I repurpose a small, flat tackle box with adjustable dividers. Fill it with identical small jars (reuse baby food jars or buy a set). Label the lids with a white paint pen. Arrange them by category: herbs, heat, blends, sweet. The tackle box closes tight, keeps out moisture, and slides into any bin. When you open it on the table, the tidy rows of spices look like a photo from a camping magazine. Bonus: you can prep the jars at home so you only bring what you need for that trip.
Vertical Storage for the Table Edge
Table space is precious. Use a small, collapsible shelf that clamps to the side of the picnic table. This holds your coffee press, water bottle, or lantern off the work surface. I clamp mine on the left side (if I’m right-handed) so I can reach my mug without crossing my prep space. For families, attach a second one at kid height for their cups and snacks. It keeps the main table clear for cooking and serving.
The Dish Drying Station
Washing dishes at camp can quickly turn into a messy pile. Create a dedicated drying station: a small, foldable dish rack placed on a waterproof mat. I use a rack that folds flat and has a spout that tilts to drain water away from the table. Set it up away from the cooking area to avoid splashing. After washing, I stack plates vertically in the rack — they dry faster and look orderly. A microfiber towel under the rack catches drips and can be wrung out and hung to dry. Safety note: keep the dish soap and scrubber in a sealed container when not in use to deter wildlife.
Lighting as a Design Element
Good lighting transforms a functional kitchen into an inviting one. Use a battery-powered LED lantern with a warm color temperature (2700K to 3000K). Place it on the cutting board tray or hang it from the canopy. For a soft glow, wrap a string of battery-powered fairy lights around the table legs or along the canopy edge. The light not only helps you see what you’re doing but also makes the whole setup feel cozy and intentional — exactly like a magazine spread after sunset.
The One-Bag Rule for Leftovers and Trash
Nothing kills a beautiful kitchen faster than a messy trash pile. Use a single, collapsible silicone bowl for food scraps and a separate dry bag for trash. The silicone bowl rinses clean and folds flat. The dry bag clips to the table leg or a nearby stake, keeping trash off the ground and out of sight. At night, seal both and store them in the car (never in the tent) to avoid attracting animals. This keeps your workspace clean and your conscience clear.
Adapting for Wind and Weather
Wind is the enemy of an organized kitchen. If gusts are forecast, use a heavy-duty tablecloth with clips to secure it to the table. Place heavier items (like the water jug or the dry goods bin) on the windward side to weigh everything down. For cooking, set up a wind screen around the stove — a three-panel aluminum shield works well. In hot weather, store chocolate and butter in a small insulated bag with a cold pack. In cold weather, keep water in a thermos to prevent freezing. Always check local fire regulations before using any stove or flame.
Takeaway
An organized camp kitchen doesn’t have to be expensive or complicated. It starts with a system: uniform containers, a dedicated prep zone, and smart vertical storage. The visual appeal comes from intentional arrangement — matching jars, a clear workspace, and warm lighting. When everything has a place and you can find it without digging, cooking at camp becomes a pleasure. And when the morning light hits your cutting board tray with its neat row of spices, you’ll feel like you’re living in a magazine. That’s the real beauty of it.
Frequently Asked Questions
How do I keep my camp kitchen organized in the rain?
Use a waterproof bin with a gasket seal for all dry goods. Set up a canopy or tarp overhead, and place a rubber mat under the cooking area. Keep a small towel in a dry bag to wipe down surfaces between uses.
What is the best way to pack cooking gear to save space?
Nest pots and pans inside each other, fill them with soft items like dish towels or pot holders. Use a single, flat-lay packing cube for utensils and spices, and store everything in one sturdy tote with wheels.
How can I make my camp kitchen look beautiful without buying new gear?
Use matching colors for containers and linens. Arrange items by height on a cutting board or tray. Add a small vase with wildflowers or a string of battery-powered fairy lights for instant visual appeal.