
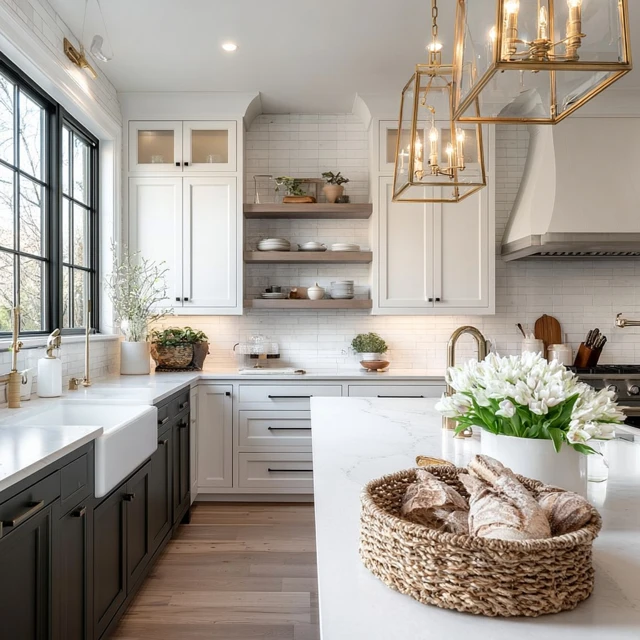
The smell of coffee brewing in the open air. The sizzle of bacon on a camp stove. A clean, organized prep space where everything has its place. That’s the dream kitchen—not at home, but at your tent campsite. And the best part? You don’t need a massive budget or a van conversion to get there. Small, intentional changes can turn a chaotic cooking corner into a calm, efficient command center.

Start with the Right Surface
The first small change that makes a huge difference: a dedicated, sturdy table. I use a lightweight aluminum roll-top table that stands about 28 inches high. It’s just the right height for prepping food without bending over. The common mistake is using a cooler as a prep surface. Coolers wobble, lids crack, and you’re constantly shifting things. Instead, set up a table that’s at least 24 by 36 inches. That gives you room for a stove on one side and a cutting board on the other. If you’re on uneven ground, carry small plastic shims or flat rocks to level the legs. A level table means no rolling eggs and no spilled coffee.
Zone Your Kitchen Like a Pro
Think of your camp kitchen in three zones: storage, prep, and cooking. The storage zone holds your food bins, spices, and dry goods. Keep it under a tarp or in a weatherproof container to protect from morning dew or sudden rain. The prep zone is your cutting board and knife, with a small bowl for scraps. The cooking zone is your stove, with a windscreen made from a foldable aluminum sheet. I cut mine to 12 inches high and 24 inches wide—it blocks wind without trapping heat. Arrange these zones in a line, left to right, so you move smoothly from grabbing ingredients to chopping to cooking. No backtracking, no clutter.
Why Zoning Works in Wind and Rain
When the wind picks up, a windscreen is gold. But if you don’t zone, you’ll have loose bags flying, spices tipping, and a mess. Zoning keeps everything anchored. In rain, a simple tarp overhead (sloped for runoff) protects your zones. Just make sure the tarp extends at least 2 feet beyond your table on the windward side. I use guy lines and stakes to secure it—never tie it to a tree that might drip water onto your stove.
Use Clear Bins and Label Everything
This is the small change that saves the most time. I pack all food into clear, lidded plastic bins—one for breakfast, one for dinner, one for snacks and spices. Each bin is labeled with a permanent marker. No more digging through a duffel bag for the salt. No more forgetting you brought oatmeal. The bins stack neatly in the car and slide under the table at camp. For spices, I use a small hanging organizer with clear pouches. Hang it from a loop on your table or a nearby branch. You’ll see every spice at a glance.
Invest in a Collapsible Wash Station
A clean kitchen is a happy kitchen. I use a collapsible 5-gallon bucket with a lid and a small dish drainer. Fill it with water and a few drops of biodegradable soap. For rinsing, a second bucket or a large pot works. The trick: line the wash bucket with a mesh bag. After washing, lift the bag—all the food scraps stay inside. Empty the bag into your trash bag, and the water is free of solids. That means less mess and easier disposal. Always pack out all food scraps and gray water if the campground doesn’t have a designated sink.
Pack a Small Cutting Board and a Sharp Knife
It sounds obvious, but I’ve seen so many campers try to chop veggies on a flimsy plastic plate with a dull blade. A 12×8-inch wooden cutting board (thin, lightweight) gives you a stable surface. A sharp 6-inch chef’s knife makes prep fast and safe. Dull knives slip—that’s how cuts happen. Wrap the knife in a blade guard or a thick cloth, then store it in a separate pouch. Never toss it loose in a bin.
One-Pot Meals Reduce Stress
Small change in planning, huge difference in cleanup. I plan meals that use one pot: chili, pasta with sauce, stir-fry, or a one-skillet breakfast hash. Pre-chop veggies at home and store them in reusable silicone bags. Pre-mix dry ingredients for pancakes or muffins in a zip-top bag. At camp, just add water or oil. Less gear, less washing, more time to sit by the fire.
Keep a Dedicated Coffee Station
Morning coffee is a ritual, not a chore. I set up a small foldable side table next to my main kitchen table. That’s the coffee station—just a stove, a kettle, a mug, and a bag of grounds. No crossing over into the prep zone. No hunting for a spoon. It’s a tiny separation that makes the morning flow. For cold mornings, I pre-heat water in a thermos the night before. That way, I’m not fumbling with a cold stove before sunrise.
Safety Note: Stove Placement and Carbon Monoxide
Never cook inside your tent. Even with the door open, carbon monoxide builds up fast. Set your stove on a stable, heat-resistant surface at least 3 feet from tent walls. In wind, use a windscreen but leave a gap for airflow at the bottom. Keep a fire extinguisher or a bucket of sand nearby. And always fully extinguish your stove before refueling.
Final Takeaway
Dream kitchen design isn’t about buying the most expensive gear. It’s about small, smart choices: a level table, clear zones, labeled bins, a sharp knife, and a wash system that works. These changes take minutes to set up but save hours of frustration. Try one or two on your next trip. You’ll feel the difference the moment you start cooking.
Frequently Asked Questions
How do I organize a small tent camping kitchen?
Use clear plastic bins to separate food, cookware, and utensils. Label each bin. Store frequently used items like a spatula or salt on top. Keep a small cutting board and a collapsible sink for washing. Use a hanging organizer for spices and small tools.
What is the best way to set up a camp kitchen?
Choose a flat, level spot away from your tent and campfire. Set up a sturdy table, then place your stove on a heat-resistant surface. Create a prep area with a cutting board and a wash station with soap and water. Keep food in sealed bins to deter wildlife.
How can I make camping meals easier?
Pre-chop vegetables and pre-mix dry ingredients at home. Use one-pot recipes to reduce cleanup. Pack a small cutting board, a sharp knife, and a lightweight pot. Bring a portable coffee maker for a morning boost.
What should I avoid in a camp kitchen setup?
Avoid using glass containers—they break easily. Don’t store food in your tent; it attracts animals. Never cook inside your tent due to carbon monoxide risk. Avoid overpacking—stick to essentials to keep your setup simple.
How do I keep my camp kitchen clean?
Use a three-bin system: one for washing, one for rinsing, one for sanitizing. Biodegradable soap is best. Dry dishes completely before storing. Pack a small scrub brush and a microfiber towel. Always pack out food scraps and trash.