
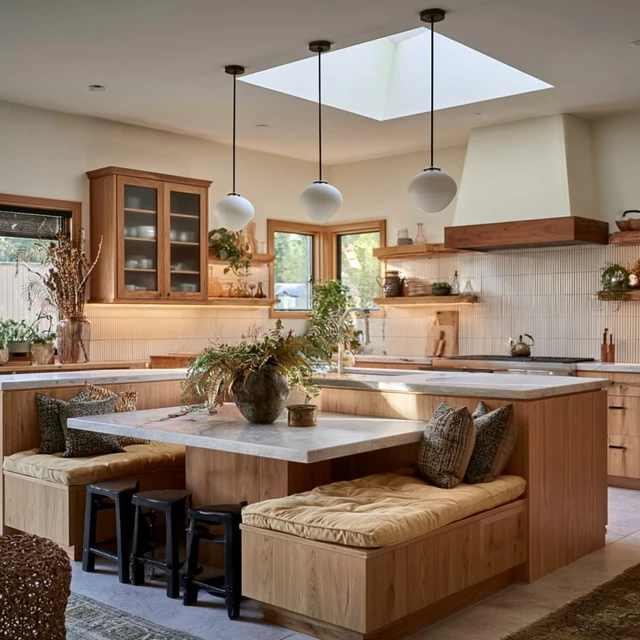
The rain patters on the fly, and inside the tent it’s warm, dry, and smells like garlic and thyme. That’s the moment you know your kitchen setup is right. Lately, I’ve been seeing the same smart layout pop up in camp after camp. It’s not fancy. It’s not expensive. But it works so well that people are screenshotting and saving it. Here’s the kitchen interior everyone’s saving right now, and why it changes everything about cooking at camp.

The Core Layout: The Triangle That Works
The secret is a simple three-point triangle: stove, prep, and storage. Each point is about an arm’s reach apart. Place your stove on the left side of a waist-high table, your cutting board and ingredients in the middle, and your bins or coolers on the right. This keeps you from twisting or reaching while handling hot pots. I use a lightweight folding table that’s exactly 28 inches high—standard counter height. Any lower and you’ll stoop, any higher and you risk tipping a pan.
Avoid the common mistake of setting the stove directly on the ground. Not only does it strain your back, but wind and dirt become constant problems. Elevate everything. Your back and your meal will thank you.
Vertical Storage: Hang What You Can
Floor space is precious in a tent kitchen. Use the vertical plane. A simple nylon hanging organizer with pockets holds utensils, spices, lighters, and napkins. I clip mine to a loop sewn into the tent seam or a carabiner on a pole. Keep the heaviest items in the bottom pockets to prevent swaying. For pots and pans, a small collapsible drying rack works as a shelf when placed on a crate. Stack lids vertically between two books or in a file organizer to grab them without noise.
The Wash Station: Keep It Outside
One thing I never bring inside the tent is the wash station. Even with careful washing, moisture and food scraps attract ants and raccoons. Set up a separate tub on a small table just outside the kitchen area, at least 50 feet from your tent. Use two bins: one for soapy wash water, one for clean rinse water. A mesh bag for sponges lets them air dry. This keeps your kitchen interior dry and clean, and it meets wildlife-safe food storage guidelines.
Adapting for Rain and Wind
If rain is forecast, pitch your tent with the kitchen area under the vestibule or a tarp. A 10×10 tarp over the cooking table gives you room to work while keeping the stove dry. In wind, position the stove so the wind blows across the burner, not directly into it. A windscreen made from a folded piece of aluminum foil wrapped around the base helps, but never block the ventilation holes of the stove—that’s a carbon monoxide risk. Always cook outside the tent, not inside, unless you have a certified safe setup with proper ventilation.
Storage Bins: Clear and Stackable
The most saved trick is using clear, stackable plastic bins. They keep food visible, dry, and organized. I use three sizes: a small one for spices and condiments, a medium for dry goods like pasta and rice, and a large for pots and utensils. Label each bin on the lid with a piece of masking tape and a marker. When you need the salt, you see it through the plastic instead of digging through a bag. Stack them inside the tent at night to keep critters out. Place the heaviest bin on the bottom.
One more thing: keep a separate bin for the first meal you’ll cook. Pack it with the stove, fuel canister, pot, spatula, oil, salt, and the ingredients for that meal. When you arrive tired and hungry, you grab one bin and start cooking without unpacking everything. That’s the kind of small win that makes a trip feel easy.
Lighting: Don’t Cook in the Dark
A headlamp is fine for walking, but for cooking you want ambient light that doesn’t cast shadows on your cutting board. Hang a warm LED lantern from the tent ceiling or a pole near the table. A lantern with a dimmer lets you adjust brightness. I place mine about 18 inches above the prep area—close enough to see, far enough to avoid glare. For extra light, a small clip-on light attaches to the table edge. Avoid candles or open flames inside the tent. They’re a fire risk and produce carbon monoxide.
The Takeaway
The kitchen interior everyone’s saving right now isn’t about buying new gear. It’s about arranging what you have into a triangle that flows, using vertical space, and keeping water and food outside. Set up your table at waist height, hang your tools, stack your bins, and light your lantern. The first time you cook a hot meal in the rain without a single issue, you’ll understand why this layout is being saved. And you’ll probably save a photo of it yourself.
Frequently Asked Questions
What is the kitchen interior everyone’s saving right now?
It refers to a specific tent kitchen layout that uses a dedicated folding table, vertical storage, and a compact cooking station inside the tent vestibule or under the awning. This setup keeps food, utensils, and stove organized and protected from weather and wildlife.
How do I set up a tent kitchen interior for cooking?
Start with a sturdy table at waist height. Place your stove on one side, food prep area in the middle, and storage bins on the other. Use a hanging organizer for utensils and spices. Keep a wash station separate, outside the tent. Always cook with ventilation and never inside a closed tent.
What are the best storage containers for a camp kitchen?
Clear, stackable plastic bins with tight lids are best. They keep food dry, visible, and stack neatly. Use smaller bins for spices and condiments. A mesh bag for produce allows airflow. Avoid glass—it breaks and adds weight.