
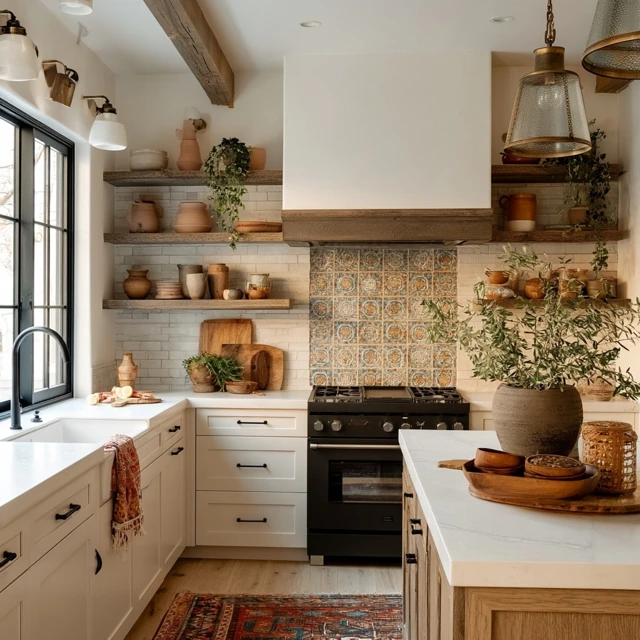
The first time I set up my camp kitchen, I just dumped everything on the picnic table. Utensils rolling off. Spices scattered. The whole thing felt like a chaotic jumble, not a cozy home away from home. That’s when I decided my tent camping kitchen needed a real glow-up — starting with the countertop and backsplash. You don’t need a full RV to have a beautiful, functional cooking space. With a few smart choices, you can turn a bare table into something that feels intentional and inviting.

Why Bother with a Countertop and Backsplash at Camp?
It’s not just about looks — though a pretty setup does lift the mood after a long hike. A dedicated countertop gives you a stable, clean surface for food prep. A backsplash protects your tent wall or gear from splatters and grease. Together, they create a defined zone that keeps your cooking organized and your campsite tidy. Plus, when you’re camping with kids, having everything in its place means fewer spills and less stress.
Choosing the Right Countertop for Your Tent Kitchen
You don’t need to buy something fancy. A simple foldable plastic table works, but I prefer a thin wooden board — about 24 by 18 inches — that I cover with a waterproof vinyl adhesive. It’s lightweight, easy to wipe down, and sits securely on my camp table. If you’re using a picnic table, bring a cutting board or a large plastic tray to create a dedicated prep area. The key is to make sure the surface is level and stable. In windy conditions, I clamp the board to the table with small spring clamps. Avoid anything that could warp or crack in heat, like thin acrylic sheets.
One Trick Most People Miss: The Raised Edge
Attach a thin wooden strip or a silicone edge to the back of your countertop. This raised lip stops small items — like a stray grape or a knife — from rolling off the back. It’s a simple addition that saves you from chasing gear into the dirt. I use a 1-inch strip of pine, sanded smooth and glued on with waterproof wood glue. Let it dry fully before packing.
Building a Backsplash That Works in the Outdoors
A backsplash in a tent kitchen does double duty: it protects your tent wall from food splatters and adds a pop of color. But you can’t use ceramic tile — it’s heavy and breaks. Instead, I use a piece of flexible plastic sheeting or a thin cutting board with a printed design. Another option is a fabric panel attached to the back of your table with binder clips. Choose a pattern that hides stains — small florals or geometric prints work well. Make sure the material is waterproof or at least easy to wipe clean. In rain, a fabric backsplash can get damp, so I carry a spare piece of oilcloth as backup.
How to Attach Your Backsplash Without Damaging Anything
Use removable adhesive hooks or hook-and-loop strips on the back of the backsplash and the table edge. For tent walls, clip the backsplash to a guy line or a pole using carabiners. Never use permanent adhesive on tent fabric or coatings. I learned that lesson the hard way — a sticky residue that took ages to clean off. Test your attachment method at home first. In windy conditions, add a second clip at the bottom to keep the backsplash from flapping.
Organization That Makes the Glow-Up Last
A beautiful countertop is useless if it’s cluttered. I keep only the essentials on the surface: a small cutting board, a spice container, and a utensil holder. Everything else goes in labeled bins or hanging organizers. Use a foldable dish rack for drying — it keeps wet items off your clean countertop. For families, assign each person a color-coded cup or plate. It cuts down on confusion and makes cleanup faster. Store food in bear-proof containers if you’re in wildlife country — never leave food on the counter overnight.
Weather and Terrain Adaptations
If the ground is uneven, level your table with flat stones or a folding table leveler. In hot weather, keep your countertop in the shade to prevent food from spoiling. A reflective windscreen around your cooking area can double as a backsplash and block gusts. In cold weather, a silicone mat under your stove prevents it from sliding. Always check local fire regulations before using any stove or open flame near your tent. Carbon monoxide from camp stoves is a real risk — never cook inside a closed tent. Set up your kitchen at least 10 feet from your sleeping area.
The Common Mistake to Avoid
Don’t overcomplicate it. I once brought a heavy wooden butcher block countertop — it was gorgeous but weighed ten pounds and took up half my trunk. The glow-up is about making your camp kitchen more functional and pleasant, not about replicating your home kitchen. Stick to lightweight, packable materials. If it doesn’t fit in one small bin, you’ve gone too far.
Takeaway
A tent camping kitchen countertop and backsplash glow-up doesn’t require a big budget or a lot of gear. With a waterproof board, a flexible backsplash, and a few clips, you can create a cooking space that feels organized, beautiful, and resilient. The real glow comes from knowing exactly where everything is and having a surface that works with you, not against you. Next time you set up camp, take that extra ten minutes to build your kitchen with intention. Your meals — and your mood — will thank you.
Frequently Asked Questions
What materials work best for a camping countertop?
Lightweight, durable materials like foldable plastic tables or thin plywood covered with a waterproof layer work best. Avoid glass or heavy stone. I use a 24×18-inch melamine board with a wipe-clean surface.
How do I attach a backsplash to a tent or table?
Use removable adhesive hooks or binder clips for fabric backsplashes. For a rigid backsplash, try small suction cups or hook-and-loop strips. Always test adhesion on a small area first to avoid damage.
Can I use real tile for a camping backsplash?
Real tile is heavy and fragile for camping. Instead, use a printed adhesive vinyl sheet or a thin plastic cutting board with a tile pattern. They weigh almost nothing and can be rolled or folded.