
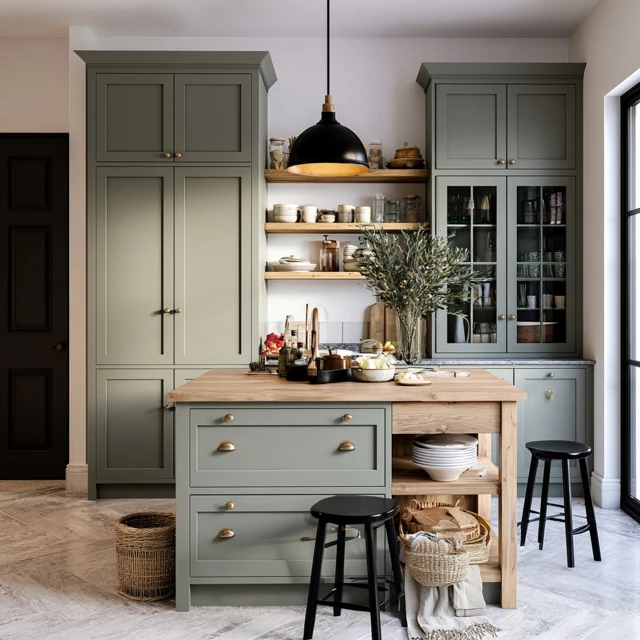
There’s something deeply satisfying about unzipping your tent and seeing your kitchen cupboard arranged like a spread from a shelter magazine—not just functional, but visually calm. The clatter of a messy pile of gear fades, replaced by the quiet order of stacked plates, labeled jars, and a tiny lantern casting a warm glow. It’s not about perfection; it’s about creating a space that feels intentional, even on a patch of dirt. Here’s how to design a tent kitchen cupboard that works hard and looks effortless.

Start with a Modular Base That Loves the Ground
Forget fixed shelves. The ground inside a tent is rarely level, and a single bump can send your carefully arranged spices tumbling. I use a collapsible, multi-tier shelf system made of lightweight aluminum or polypropylene—each leg adjusts independently so you can level it with a twist. Look for shelves that are 24 to 30 inches tall, with three to four tiers and a weight capacity of at least 20 pounds per shelf. The bottom tier should sit 6 inches off the ground to keep gear dry from condensation or a surprise puddle.
Common mistake to avoid: Using a single wide shelf. It wobbles and wastes vertical space. Instead, choose a narrow, tall unit that fits snugly against a tent wall, leaving room for a cooler or foot locker beside it.
Why Modular Beats Built-In
A modular system lets you reconfigure based on the trip. For a short weekend, I might use only two tiers—one for stove fuel and pots, another for dry goods. For a longer stay with kids, I add a third tier with snack bins and a hanging utensil organizer. The adaptability means your cupboard design can shift with your needs, not fight them.
Layer in Aesthetic Storage Without the Bulk
The secret to a magazine look is visual breathing room. Pack items in uniform containers—clear, shatterproof polycarbonate jars for pasta, rice, and oats; bamboo boxes for snacks; and lightweight enamel or melamine plates stacked vertically in a divided caddy. Avoid mixing too many colors; stick to two or three neutrals (cream, sage, charcoal) for a cohesive palette.
Specific trick: Use a small canvas roll-up pouch for utensils, secured with a bungee to the shelf’s edge. It keeps forks and spoons off the floor and adds a soft texture against the hard containers. For spices, repurpose a 12-compartment pill organizer—it’s compact, spill-proof, and you can label each lid with a permanent marker.
The One-Drawer Rule
If your shelf system has a drawer, reserve it for items you use every meal: a can opener, a lighter, a small cutting board, and a salt shaker. This drawer becomes your “quick-draw” zone, so you’re not rummaging through bins for the same three tools. Line it with a silicone mat to muffle clatter and catch crumbs.
Secure Everything for Wind and Wobble
A gust of wind can turn your gorgeous cupboard into a disaster in seconds. I always run a length of paracord from the top of the shelf to a tent stake driven into the ground behind the tent wall. This anchors the unit without damaging the tent fabric. For individual containers, use small bungee cords or adhesive Velcro strips to hold jars against the shelf sides.
Safety note: Never store a camp stove or fuel canisters inside the tent cupboard—even with ventilation, the risk of carbon monoxide or a leak is too high. Keep those items outside, under a covered vestibule or in a dedicated dry bag.
Adapting for Rain and Humidity
In damp weather, moisture creeps into every crevice. Place a reusable silica gel pack at the bottom of each bin to absorb humidity. Store matches and paper goods in a zip-top bag inside the cupboard. If you expect heavy rain, drape a lightweight, waterproof pack towel over the front of the shelf—it acts like a curtain, keeping spray off your supplies while still looking tidy.
Add a Touch of Cozy That Stays Put
A magazine spread always has that one detail that makes you smile. For a tent cupboard, it might be a tiny string of battery-operated fairy lights draped along the shelf edge, or a single small plant (a faux succulent works—real ones get crushed). I clip a small, metal camping mug to the side of the shelf with a carabiner, holding a few fresh wildflowers or a sprig of pine. It’s not necessary, but it transforms the space from a storage unit into a room.
Practical note: Keep these extras minimal and secure. A loose decoration becomes a tripping hazard. Use adhesive command hooks or small clips to fasten anything decorative.
The Takeaway
A magazine-worthy tent kitchen cupboard isn’t about having the newest gear—it’s about thoughtful arrangement. Start with a modular, levelable shelf. Use uniform containers in a limited palette. Secure everything against wind and weather. And add one small, personal touch that makes you smile when you unzip the tent. That’s the design that truly feels like home.
Frequently Asked Questions
How do I keep my tent kitchen cupboard organized in windy conditions?
Use bungee cords or tension rods to secure shelves and containers. Opt for lidded bins and mesh pockets to prevent items from shifting. Place heavier cookware on lower shelves to lower the center of gravity.
What are the best containers for an aesthetic camping cupboard?
Clear, shatterproof polycarbonate jars or lightweight bamboo boxes work beautifully. They let you see contents at a glance while adding a natural, cohesive look. Avoid glass—it’s heavy and risky on uneven ground.
Can I create a magazine-style cupboard without buying new gear?
Absolutely. Repurpose your existing gear by grouping like items (e.g., all spices in one bin, utensils in a roll). Use uniform containers from home, like matching Tupperware or mason jars with plastic lids. Add a small cloth napkin or a sprig of greenery for a quick aesthetic lift.