
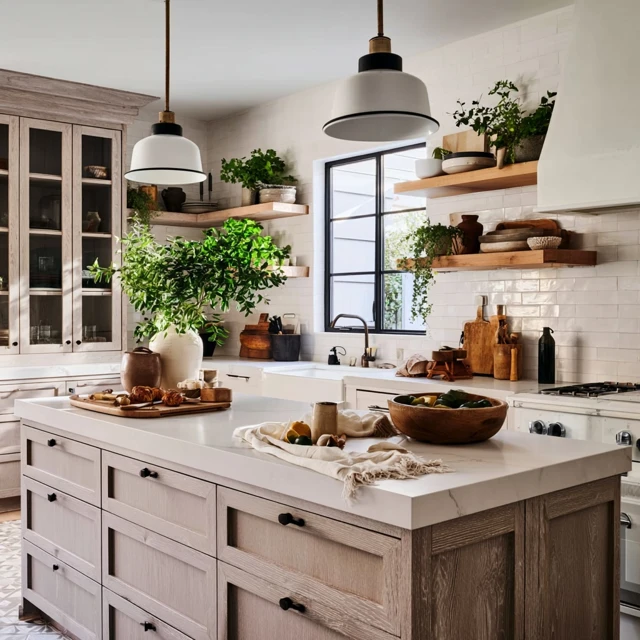
The first time I set up my camp kitchen, I tossed everything onto the table — stove, cooler, bags of food, a lantern. It worked, but it felt chaotic. Every meal was a hunt for the salt. Then I started treating my camp countertop like a small, functional stage. A few intentional pieces turned the chaos into a space that actually invited me to cook. Here’s exactly how to do it without overcomplicating things.

Start With a Solid Base
Your countertop is only as good as the table it sits on. Use a sturdy, level folding table at least 24 inches deep and 36 inches wide. If your campsite has a picnic table, that’s fine — but bring a lightweight, heat-resistant mat or a thin cutting board to create a clean, flat work surface. I use a 20×16 inch bamboo board that doubles as a serving platter. It gives the whole setup a grounded feel.
The Rule of Three Zones
Divide your countertop into three mental zones: prep, cook, and serve. The prep zone goes on the left (if you’re right-handed), the cook zone in the middle with your stove, and the serve zone on the right. Decor items should live in the serve zone or tucked behind the prep area. This keeps your workflow smooth and prevents clutter from interfering with cooking.
Choose Decor That Works Hard
Every decorative item on your camp countertop should have at least one practical job. A small enamelware pitcher holds spatulas and spoons. A cast iron trivet protects the table from hot pots and adds a rustic visual anchor. A glass jar with a lid stores matches, toothpicks, or tea bags while doubling as a weight to hold down a napkin in the breeze.
Common mistake: bringing decorative items that are too tall. A 12-inch vase or a tall candle will tip over the second you bump the table. Keep everything under 8 inches tall. If you want height, use a small lantern on a stable base.
Lighting Sets the Mood
A countertop without good light is just a dark surface. Use a compact, rechargeable LED lantern with a warm color temperature (around 2700K). Place it on the serve zone side so it illuminates your workspace without shining in your eyes. For a softer glow, wrap a thin linen cloth or a bandana around the lantern — just keep it away from any heat source.
Safety note: Never use a propane or fuel-burning lantern inside a tent or directly on a food prep surface. Stick to battery-powered or solar lights for countertop decor.
Add One Natural Element
A small, hardy succulent in a shallow terra cotta pot adds life without needing constant care. Or place a bundle of fresh rosemary or thyme in a short jar — it smells wonderful and you can snip sprigs into your cooking. Avoid anything that wilts fast or attracts bees, like flowers with strong scents. A small pinecone or a smooth river stone from the site (if allowed) can also anchor the space.
The Wind Factor
Wind is the enemy of countertop decor. Lightweight items fly off. Napkins become kites. Here’s the trick: place a heavy item — a cast iron skillet, a full water bottle, or a cooler — on the windward side of the table. This creates a low windbreak. For items like paper towels, use a weighted holder or slide the roll onto a dowel that sits inside a heavy mug. A small strip of adhesive hook-and-loop tape on the bottom of a cutting board or lantern keeps it from sliding.
When Rain Threatens
If rain is in the forecast, keep decor minimal. Remove anything fabric or paper that can’t get wet. Store salt and spices in a sealed container with a gasket. I use a small metal tin with a tight lid for my most-used seasonings. Place a microfiber cloth on the countertop to catch drips from wet hands or gear. It doubles as a dish drying mat.
Keeping It Safe for Kids and Wildlife
If kids are around, avoid breakable glass on the countertop. Use enamelware, stainless steel, or melamine instead. Keep all food items — even decorative jars of tea or sugar — sealed and stored in a bear-proof container or locked in your vehicle when not in use. A pretty jar of sugar left out overnight is an invitation for raccoons. Always check local regulations about food storage.
My Go-To Countertop Setup (Minimalist Version)
Here’s what I actually put on my countertop every trip: a 16×12 inch bamboo cutting board (prep zone), a two-burner propane stove (cook zone), a small enamel pitcher with utensils, a short LED lantern, a trivet, and a sealed tin of salt, pepper, and garlic powder. That’s it. It takes two minutes to set up and leaves me room to cook a full meal.
Takeaway
A camp kitchen countertop doesn’t need to look like a magazine spread. It needs to be functional, stable, and a little bit inviting. Start with the three zones, pick decor that does double duty, and always plan for wind and weather. Once you have that foundation, you can adjust the look with small natural touches. The goal isn’t perfection — it’s a space that makes you want to cook, even when you’re miles from a real kitchen.
Frequently Asked Questions
What are the essential items for a camp kitchen countertop?
Start with a small cutting board, a heat-safe trivet, a lantern or light source, a utensil holder (like a mason jar or collapsible bin), and a container for frequently used spices and condiments. Keep it minimal so you have room to prep food.
How do I keep decor items from blowing away in the wind?
Use weighted or grippy items. Add a small piece of adhesive-backed hook-and-loop tape to the bottom of lightweight items like cutting boards or lanterns. Place heavier items like a cast iron skillet on the windward side to act as a windbreak. Always stake down your table if possible.
Can I use real plants for countertop decor while camping?
Yes, but choose hardy, low-maintenance plants like small succulents or air plants in a shallow, heavy pot. Avoid anything that needs frequent watering or has strong scents that might attract wildlife. A small bundle of fresh herbs like rosemary or thyme in a jar adds both aroma and a cooking ingredient.