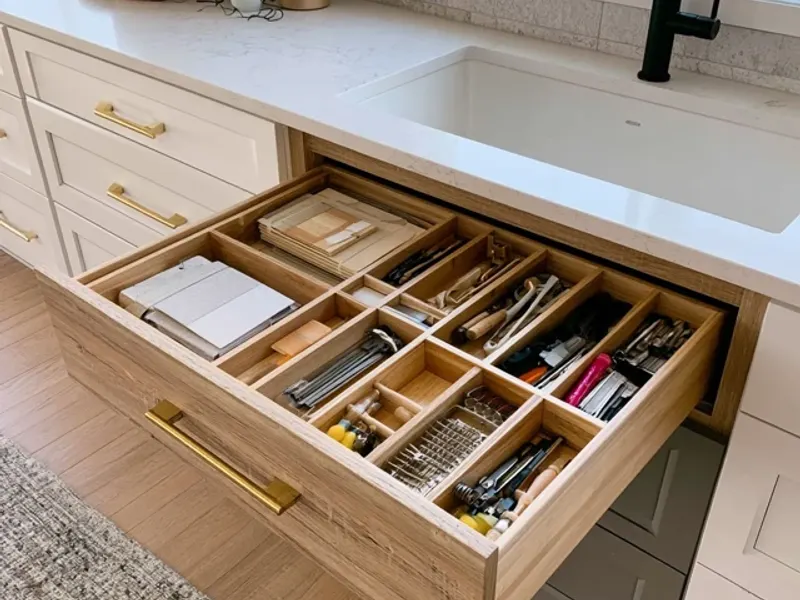
Kitchen Junk Drawer Organization Upgrade Worth Every Penny
The first time I opened my camp kitchen tote and saw a jumble of loose matches, crumpled foil, a stray lighter, and three mismatched spoons, I knew something had to change. That drawer—the one where everything lands—was chaos. It wasted time, frustrated me, and made cooking feel like a chore. So I gave it a small upgrade. And honestly? It was worth every penny.

Why a Junk Drawer Upgrade Matters at Camp
A disorganized kitchen drawer isn’t just annoying—it slows you down. When you’re hungry, tired, or dealing with wind, finding a bag clip or a spare lighter quickly matters. An organized drawer saves minutes, and those minutes add up. Plus, it keeps your campsite tidy and your gear in good shape. No more crushed crackers or lost matches.
The Upgrade: Simple, Cheap, Effective
You don’t need fancy gear. I spent less than ten dollars on this system. Here’s what I used:
- Small clear plastic bins (the kind for office supplies or jewelry) – about 4 inches by 3 inches each. I bought a set of six for $6.
- Silicone pouches (reusable snack bags work great) – for items that need to stay dry.
- A roll of grippy shelf liner – to stop bins from sliding.
- A permanent marker and small labels – for quick identification.
First, I emptied the drawer completely. I sorted everything into piles: utensils, fire starters, repair items, spices, first-aid, and trash (old receipts, broken bits). Then I grouped each pile into a bin or pouch. I labeled each one: “Matches & Lighters,” “Foil & Clips,” “Multi-Tool & Tape,” “Spices,” “First-Aid,” “Sundry.” The last bin holds random useful items like zip ties and a small sewing kit.
I lined the drawer with the shelf liner, placed the bins inside, and closed it. Now, when I need a lighter, I grab the “Matches & Lighters” bin. No digging. No swearing. It takes two seconds.
Adapting for Weather and Kids
Wind can scatter lightweight items, so I always use lidded bins or pouches. For rain, I keep the drawer inside a waterproof tote or under a tarp. If you have kids, assign a low bin for snacks or disposable utensils. This keeps little hands from rummaging through everything and teaches them to put things back. I also add a small roll of duct tape for quick fixes—it’s saved a broken tent pole more than once.
Common Mistake to Avoid
Don’t overstuff the drawer. If you cram too many bins, you’ll create a new kind of chaos. Leave a little breathing room. I keep only the most-used items in the drawer—everything else lives in a separate tote. This keeps the drawer functional, not a black hole.
Why This Upgrade Is Worth Every Penny
For less than ten bucks, I gained peace of mind. No more hunting for a lighter while dinner burns. No more crushed crackers. The system is portable—I can lift the whole liner with bins and transfer it to another tote. It works for car camping, tent camping, even RV trips. The shelf liner alone is a game-changer: it stops the bins from sliding when you’re on uneven ground.
A Simple Trick You Haven’t Heard
Here’s the tip that makes this system shine: use a small carabiner to clip the “Matches & Lighters” bin to the inside of your camp kitchen tote. That way, it’s always within reach and won’t get buried. I learned this after a windy night when the bin slid to the bottom of the tote. Now it’s clipped and ready.
Safety Note
Keep lighters and matches away from heat sources and out of reach of children. Store them in a dry, labeled bin. Never leave a camp stove unattended. Always check local fire regulations before using any open flame.
Takeaway: A small investment in organization transforms your camp kitchen. You’ll cook faster, stress less, and actually enjoy your meals. Try it on your next trip—you’ll wonder why you didn’t do it sooner.
Frequently Asked Questions
What is the best way to organize a camp kitchen junk drawer?
Start by emptying the drawer completely. Sort items into categories like utensils, spices, repair gear, and fire starters. Use small clear bins or silicone pouches to group each category. Label each container so you can grab what you need without digging. I always keep a dedicated bin for matches and lighters, another for foil and bag clips, and a third for first-aid basics. This method cuts down on clutter and saves time when cooking.
How can I keep a camp kitchen junk drawer tidy in windy or rainy conditions?
Wind can scatter lightweight items, so use containers with lids or snap closures. I prefer silicone pouches or small zippered mesh bags because they stay put. For rain, keep the drawer inside a waterproof tote or under a tarp. A simple trick: line the drawer with a grippy shelf liner—it prevents bins from sliding around. Always secure the drawer with a bungee cord or latch if you expect strong gusts.
What are the essential items for a camp kitchen junk drawer?
Essentials include a multi-tool or small knife, waterproof matches or a lighter, a few zip ties, aluminum foil, bag clips, a small roll of duct tape, a mini first-aid kit (bandages, antiseptic wipes), and a packet of wet wipes. I also add a small spice kit with salt, pepper, and a favorite blend. These cover most cooking emergencies and quick fixes without taking up much space.
How does a junk drawer upgrade save time when camping with kids?
With kids, every minute counts. A well-organized drawer means you can find the scissors, a bandage, or a snack bag clip in seconds—no frantic searching. Assign a low bin for kid-friendly items like granola bars or disposable utensils. This keeps little hands from rummaging through everything. It also teaches kids to put things back, which keeps the campsite tidy and reduces stress.