
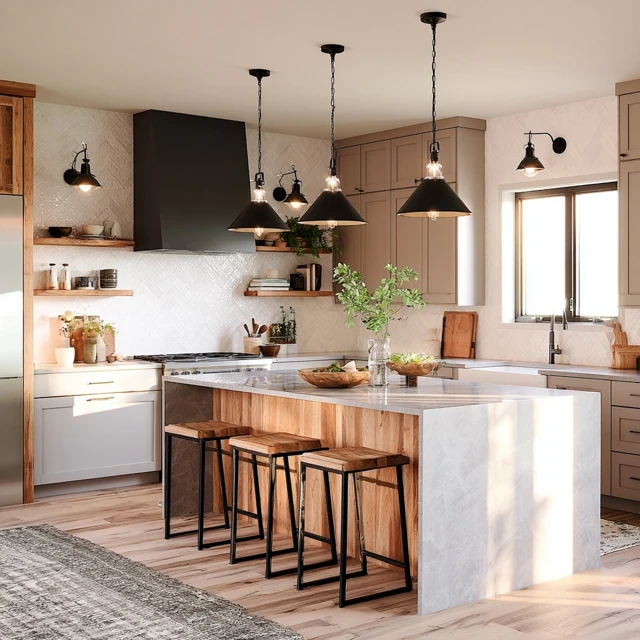
The first time I hung a string of warm fairy lights across my camp kitchen table, I sat back and just stared. The light caught the edge of a tin mug, softened the plastic cooler, and turned a simple folding table into something that felt deliberate. Beautiful. Like a page from a design magazine, but here, under a tarp, with the smell of pine and damp earth all around. That moment taught me something: kitchen lighting at camp isn’t just about seeing what you’re cooking. It’s about creating a space that feels good to be in — a place where dinner prep becomes part of the evening ritual, not a chore to rush through.

Most camp kitchens default to one harsh lantern on the table. It works. But with a few intentional choices, you can build a layered lighting setup that transforms your whole cooking area. Here is how to design your campsite kitchen lighting so it feels curated, warm, and genuinely practical — no magazine budget required.
Start with the Ambient Layer: String Lights That Set the Mood
Ambient light is the foundation. It fills the space with a soft, even glow and defines the kitchen zone. For this, nothing beats a strand of battery-operated string lights. Look for ones with warm white LEDs — the color temperature matters. Cool white light feels clinical. Warm light (around 2700K) mimics the golden hour and makes everyone look and feel better.
How to hang them: Run a main line between two anchor points — trees, your tent’s guylines, or telescoping poles. I use a pair of adjustable aluminum poles (the kind meant for canopy sidewalls) pushed into the ground about eight feet apart. Drape the lights in a gentle swoop, not a tight line. The slight curve creates a ceiling effect that defines the kitchen area without enclosing it.
Common mistake: Hanging lights too high. If they’re above eye level when you’re standing at the table, the light spreads too thinly. Aim for the string to hang at about six feet off the ground — just above head height for most people, so the bulbs are in your peripheral vision but not in your eyes.
Wind and weather adaptation: Use lights with a fabric-covered wire; they hold up better in wind than thin plastic strands. Secure the wire at each anchor point with a taut-line hitch so you can adjust tension if the wind picks up. Never leave lights out in heavy rain unless they are rated for outdoor use (IP44 or higher).
Add Task Lighting: See What You’re Cutting
Ambient light is lovely, but it won’t help you dice an onion without losing a fingertip. Task lighting needs to be direct, bright, and positioned exactly where you work. The trick is to make it feel intentional rather than utilitarian.
My go-to method: A clip-on LED lantern with a swivel head, attached to the underside of a camp kitchen shelf or table leg. Aim the beam downward at a 45-degree angle onto your cutting board. This eliminates shadows cast by your own body — a problem with overhead lights — and keeps the glare out of your eyes.
Another option: A battery-powered LED strip with adhesive backing. Stick it under the lip of your table or along the inside edge of a storage bin that you use as a counter. The light bounces off the table surface and illuminates your workspace evenly. Look for strips with a dimmer switch so you can adjust brightness from a soft glow to full power.
Safety note: Never use a propane lantern or any open-flame device as task lighting near cooking surfaces. The heat and risk of tipping are too high. Stick to sealed LED units that won’t shatter if knocked.
Layer in Accent Lighting: The Magazine Finish
Accent lighting is the detail that separates a functional setup from a beautiful one. It’s the small glow that draws your eye to something specific — a jar of wildflowers, a stack of enamel plates, a favorite mug. It doesn’t need to be bright. It just needs to be there.
Easy accent ideas:
- A small flameless LED candle tucked inside a glass jar (the jar protects it from wind and adds a soft diffusion). Place one at each corner of the table.
- A string of tiny fairy lights woven through a wire basket that holds your cooking utensils. The light catches the handles and casts interesting shadows.
- A single lantern with a frosted globe set on a stump or rock a few feet away from the main work area. It creates a secondary pool of light that visually expands the kitchen zone.
Why this works: Our eyes are drawn to contrast. By placing small points of light at different heights and distances, you create depth. The kitchen no longer feels like a flat table under a single bulb — it becomes a layered space with corners and character.
Power and Placement: Keep It Simple and Safe
All these lights need power. I carry a single rechargeable power bank with multiple USB ports. One strand of string lights, one clip-on lantern, and one LED strip can run for two to three nights on a single charge of a 20,000 mAh bank. Bring a spare battery pack for longer trips.
Placement tips:
- Keep all cords and lights away from the stove and fuel canisters. Even LED wires can be a trip hazard.
- Run string lights along the inside edge of your canopy or tarp, not across the open center. This prevents them from swinging in the wind and keeps them out of the way.
- Use a separate light for the food prep area and another for the dining/eating spot. This lets you turn off the prep light once cooking is done and enjoy a dimmer, more relaxed dinner atmosphere.
For camping with kids: Give each child their own small, dimmable lantern for their seat at the table. It keeps them engaged with the setup and gives them a sense of ownership. Plus, if they need a nightlight later, they already have one.
The Takeaway
A magazine-worthy camp kitchen doesn’t require expensive gear or a professional designer. It takes three layers of light — ambient, task, and accent — each chosen with intention and placed with care. The result is a space that feels both luxurious and deeply practical. A place where the evening meal becomes something to linger over, not rush through. And when you sit back after dinner, with the warm glow of string lights above and a single candle flickering on the table, you’ll know you built it yourself.
Frequently Asked Questions
What is the best type of lighting for a tent camping kitchen?
A layered approach works best: ambient string lights for overall glow, task lighting (like a headlamp or clip-on lantern) for food prep, and accent lights (like a small candle lantern or fairy lights in a jar) for atmosphere. Battery-powered LEDs are safe and versatile.
How do I hang string lights at a campsite without trees?
Use adjustable telescoping poles or shepherd’s hooks that fit into the ground. You can also attach lights to your tent’s guylines or a canopy frame. For a freestanding option, two tripods made from three trekking poles each can support a line between them.
Can I use real candles in a camp kitchen?
Real candles are a fire hazard and not recommended in or near a tent. Opt for flameless LED candles with a realistic flicker. They provide the same cozy look without the risk of tipping over or catching gear on fire.
How do I keep bugs away from my kitchen lighting?
Use warm-toned (amber or yellow) LED bulbs, which attract fewer insects than cool white or blue light. Place lights away from the immediate cooking area, and consider a small battery-powered fan to create airflow. Citronella candles (placed safely on a non-flammable surface) can also help.