
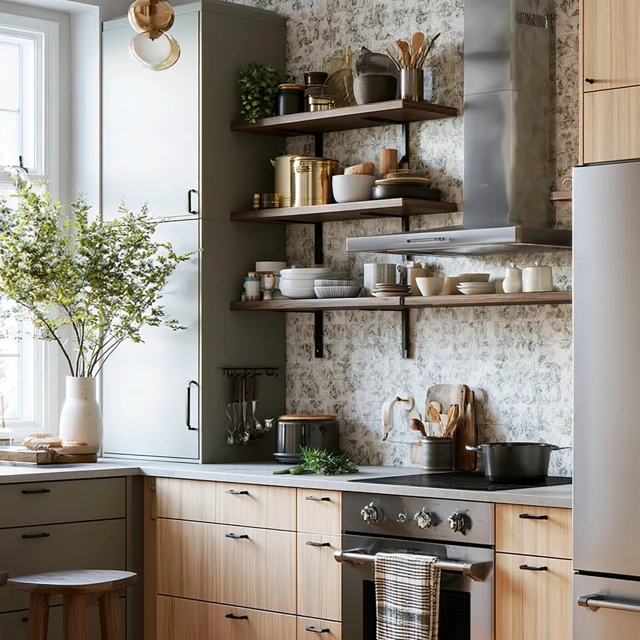
The first time I unzipped my tent after a long hike, I smelled coffee. Not from a thermos. From a small, organized tote sitting on the picnic table. Inside: a compact stove, a kettle, two mugs, a jar of grounds, and a spoon. That was the moment I realized a cozy kitchen cabinet isn’t about fancy gear. It’s about having exactly what you need, exactly where you need it, without digging through a tangled mess of bags.

Here’s the thing most campers get wrong: they treat the kitchen like an afterthought. Stove in one bin, food in another, utensils somewhere in the trunk. Then comes the frantic search for the salt shaker while the pasta boils over. A dedicated kitchen cabinet tote changes all of that. It’s one container, fully packed, that you pull out and set up in under two minutes. Here’s how to build yours so it actually works.
Choose Your Cabinet: The Right Tote Matters
Start with a clear, 27-gallon tote with a snap-tight lid. Clear plastic is non-negotiable — you can see where the spatula is without opening the lid. The 27-gallon size fits a standard two-burner camp stove, a 4-quart pot, a kettle, a set of nesting bowls, utensils, and a small dry-goods bin. If you’re cooking for two, an 18-gallon tote works. For a family of five, go up to a 35-gallon tote, but keep in mind that heavier totes are harder to lift onto a picnic table.
Common mistake to avoid: buying a tote with a lid that doesn’t lock. A loose lid lets in dust, pine needles, and moisture. Worse, if you stack other gear on top during transport, the lid pops off and your kitchen spills inside the car. Always test the latch before you buy.
The Nesting Trick That Saves Space
Nesting isn’t just for Russian dolls. It’s the single most effective way to fit a full kitchen into one tote. Start with your largest item — the camp stove — and place it at the bottom, centered. Then nest your pot inside the stove cavity (if it fits) or next to it. Inside the pot, place your kettle. Inside the kettle, tuck your spice kit and a small cutting board. Stack two nesting bowls upside down over the kettle. Utensils slide into the gap along the side of the stove.
This method does two things. First, it eliminates dead air space. Second, it stops items from rattling against each other during bumpy roads. If you still hear clanking, wrap a dish towel around the kettle or slide a silicone trivet between layers.
What to Pack Inside Your Kitchen Cabinet
- Stove and fuel: One two-burner propane stove. Store fuel canisters separately in a ventilated container, not inside the tote.
- Cookware: One 4-quart pot with lid, one 10-inch skillet, one kettle (collapsible if possible).
- Bowls and plates: Four nesting bowls (metal or melamine), four plates (stackable).
- Utensils: Spatula, wooden spoon, tongs, ladle, can opener, paring knife (blade guard on), and a set of forks, spoons, and knives for each person.
- Dry goods: A separate small bin (1-gallon size) inside the tote for coffee, tea, salt, pepper, oil, sugar, and any quick-cook pasta or rice. Keep it sealed.
- Cleaning kit: A small scrub brush, a drop of biodegradable soap in a leakproof bottle, and a microfiber towel.
Safety note: Never store fuel canisters, matches, or lighters inside the same tote as your stove or food. Keep them in a separate, labeled container stored away from heat sources and out of direct sun.
Rain-Proof Your Setup (Without a Tarp)
Even the best-organized tote is useless if water seeps in during a downpour. The lid isn’t waterproof — it’s water-resistant at best. Here’s a trick that takes thirty seconds: before you close the lid, lay a large, heavy-duty trash bag over the contents, tucking the edges down the sides. Then snap the lid shut. The bag creates a waterproof barrier. If rain hits, water runs off the lid and never touches your gear. When you set up camp, pull out the bag and use it as a ground cloth or a table cover.
For windy sites, place your tote on the leeward side of the picnic table or on the ground beside your tent, with the lid facing away from the wind. A bungee cord looped over the tote and around the table leg keeps it from sliding off.
Adapting for Kids, Cold, or Heat
Camping with kids: Pack a separate small tote (a 5-gallon shoe box size) inside the main cabinet with kid-friendly items: their own cup, plate, and utensils, plus a few snacks in sealed bags. This lets them grab their own stuff without digging through the main tote. Label the small bin with their name using duct tape and a marker.
Cold weather: Add a small, insulated lunch bag inside the tote for items that freeze easily, like eggs or cheese. Tuck a hand warmer packet next to them for extra protection. Your stove will work fine in cold, but keep propane canisters warm (inside your sleeping bag at night) to maintain pressure.
Hot weather: Move your dry-goods bin to a cooler at night to keep chocolate, butter, and spices from melting. In extreme heat, open the tote lid for a few minutes each afternoon to let trapped heat escape. This prevents plastic containers from warping.
The One-Hour Rule
Here’s a final tip that ties it all together. After you’ve packed your kitchen cabinet, time yourself. Can you set it up — pull the tote from the car, open it, place the stove on the table, and have the kettle on the burner — in under one hour? If not, you’ve packed too much. Cut one pot, one bowl per person, and one utensil type. The goal is not to bring everything you might use. It’s to bring everything you will use.
Takeaway: A cozy kitchen cabinet isn’t about having the newest gear. It’s about one tote, nested tight, labeled clear, and rain-ready. Build it once. Then enjoy the feeling of unzipping your tent to the smell of coffee, not the sound of chaos.
Frequently Asked Questions
What is the best size tote for a camp kitchen cabinet?
A 27-gallon clear tote (roughly 24 x 18 x 16 inches) works well for a family of four. It fits a two-burner camp stove, a medium pot, a kettle, utensils, and dry goods in sealed containers. If you cook for two, an 18-gallon tote is enough. Clear plastic lets you see contents without opening.
How do I keep food safe from wildlife in a camp kitchen tote?
Never store food in the tent. Use the tote as your kitchen cabinet, but at night or when you leave camp, transfer all food and scented items (soap, toothpaste) into a bear-proof canister or a designated food bag hung at least 10 feet off the ground and 4 feet from the tree trunk. The tote itself is not wildlife-proof.
Can I use the same tote for cooking gear and dry food?
Yes, but separate them inside. Use a smaller plastic bin or cloth sack for dry goods like pasta, rice, and snacks. Nest that inside the larger tote with your stove and pots. This prevents crumbs from coating your gear and makes unpacking faster.
What’s the one mistake people make when building a camp kitchen cabinet?
Packing the tote too full. If you cram gear in, you’ll struggle to close the lid and items will shift and break during travel. Leave a few inches of empty space so you can nest items and close the lid easily. Also, label the tote on all four sides with a permanent marker so you can grab it quickly, even in dim light.