
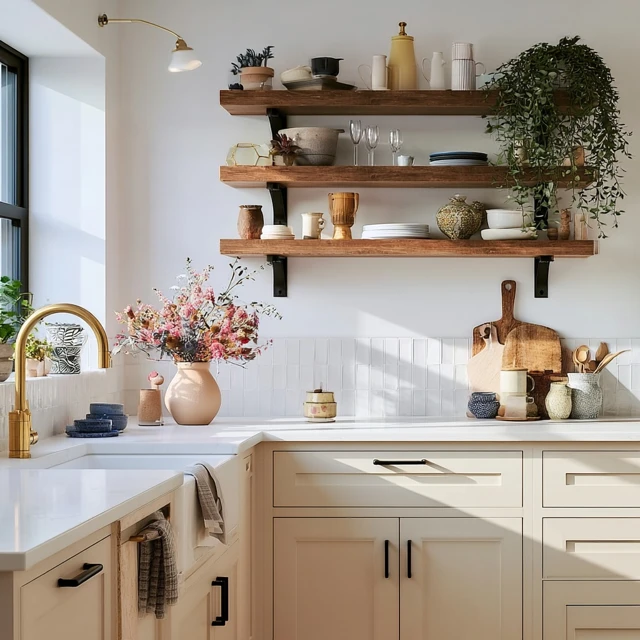
There’s a quiet satisfaction in setting up a camp kitchen that feels both orderly and welcoming. The clatter of pots finds a home, the spice bottles stand at attention, and the whole space hums with a sense of readiness. But kitchen shelving decor on a real budget doesn’t mean sacrificing function or that warm, intentional feel. It means choosing each piece with purpose, knowing exactly how it will hold up against a sudden gust or a curious raccoon. Here are the exact steps I use to build a camp kitchen shelf system that looks good, stays put, and costs next to nothing.

Step One: Choose Your Shelf Foundation
The base of your shelving must be lightweight, stable, and easy to clean. Skip heavy wooden planks that will warp in damp air. Instead, look for a collapsible wire shelf from a dollar store or a plastic crate turned on its side. A wire shelf lets air circulate, which prevents moisture from building up under your dishes. If you’re using a crate, cut a piece of stiff cardboard to fit the bottom, then cover it with a washable cloth or a silicone mat. This gives you a flat surface without adding weight. Common mistake: using a shelf that’s too tall or too deep. Keep the depth under 12 inches so you can reach the back without stretching, and keep the total height low enough that the top shelf stays below your shoulder. In wind, a tall shelf becomes a sail. Anchor it by tying the top to a tent pole with a tautline hitch, or place a gallon water jug on the bottom shelf as ballast.
Step Two: Find Your Containers for Free or Nearly Free
Decor starts with what holds your gear. Raid your own kitchen before buying anything. Mason jars hold dry goods, utensils, or even a small candle. Cardboard tubes from paper towels can store plastic bags or napkins. Mesh produce bags (the ones onions come in) clip onto a shelf edge with a binder clip and hold spatulas, tongs, or skewers. The trick is to use what you already have, but make it intentional. Wash and dry the jars, remove labels with oil, and group them by size. For spices, use a small tackle box or a mint tin. For plates, stack them on a silicone trivet to keep them from sliding. In rain, keep everything inside a waterproof tote when not in use. In heat, store food in sealed containers away from direct sun. Safety note: never store fuel or lighters on the same shelf as food or cooking tools.
Step Three: Create Visual Rhythm with Height and Color
An aesthetic shelf doesn’t need expensive decor. It needs repetition and contrast. Place three matching jars in a row. Stack plates by size: dinner, salad, bowl. Use a single small plant—a succulent in a thrifted teacup or an air plant in a glass globe—as the focal point. The plant adds life without needing daily care. If you want color, use a bandana as a shelf liner or a strip of washi tape along the edge. One specific trick: cut a piece of cork shelf liner to size. It grips everything, muffles clatter, and costs a dollar. Avoid clutter. A shelf with five items looks curated. A shelf with fifteen looks like a garage sale. Every item must earn its place by being useful or by making you smile.
Step Four: Secure Everything for Wind and Wildlife
Wind is the enemy of a pretty shelf. Use a thin bungee cord or a shock cord to create a low rail across the front of each shelf. This keeps jars and plates from tumbling off when a gust hits. For items that must stay put, use a dab of museum putty on the bottom. It’s cheap, reusable, and holds through a moderate breeze. At night or when you leave camp, move all food, scented items, and trash into a bear canister or a vehicle. Never leave food on the shelf unattended, even for a short hike. A raccoon can clear a shelf in seconds. For kids, keep the lowest shelf for their cups and bowls so they can reach them without climbing.
Step Five: Adapt for Weather and Terrain
Shelving decor changes with the conditions. In humid weather, avoid paper liners that will curl. Use a silicone mat or a dry towel instead. In cold weather, keep glass jars off the ground to prevent freezing cracks. On sandy soil, place a tarp under the shelf area to keep dust off your dishes. If you’re camping near a lake, the breeze will be constant. Use heavier containers and a lower shelf profile. One tip that works everywhere: set up your kitchen shelf under the tent vestibule or a dedicated tarp. This keeps the sun off your spices and the rain off your paper goods. The shelf itself becomes a visual anchor for the whole camp, a small proof that order and comfort can live even in the wild.
Takeaway
Kitchen shelving decor on a real budget isn’t about buying the right things. It’s about seeing the potential in what you already have, securing it against the elements, and arranging it with a quiet hand. Start with a stable base, use containers you already own, add one living element, and tie it all down. Your camp kitchen will feel less like a chore and more like a room with a view.
Frequently Asked Questions
What is the cheapest way to add shelving to a tent kitchen?
Use a lightweight collapsible wire shelf from a dollar store or a repurposed plastic crate turned on its side. Secure it to a tent pole or a freestanding folding table with zip ties or bungee cords to keep it stable.
How do I keep camp kitchen shelves from tipping in wind?
Anchor the shelf base with a weight like a water jug or a bag of charcoal. Use tent stakes through the shelf’s feet into the ground, or lash the top to a tent pole with a tautline hitch.
Can I use real plants on camp kitchen shelves?
Yes, but choose durable succulents or air plants that need little water. Keep them in a sealed terrarium or a jar with a lid to prevent soil spills and protect from wind.